Adobe Fuse CC is Adobe’s character animation software that outputs 3D models into Photoshop. It’s intuitive and it’s fun.
With the most recent update to its Creative Cloud applications released on Nov. 30th, 2015, Adobe introduced a new addition to its extensive collection of design and content creation tools: Fuse CC (Preview), a character animation software that outputs 3D models into Photoshop, where you can get your kicks out of animating them (formerly by Mixamo).
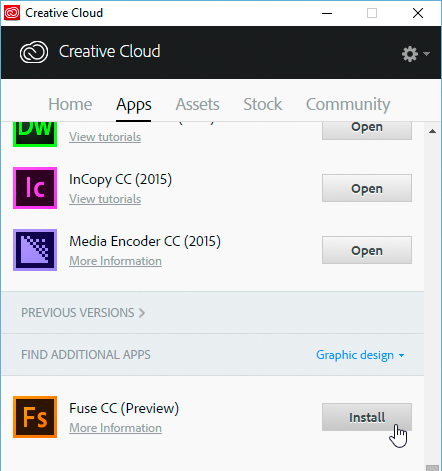
In an apparent attempt to counteract Autodesk’s foray into the creative territory and fill a gap in its otherwise well rounded portfolio, Adobe is offering Fuse CC free of charge to anyone with an AdobeID (you can register for free and get Fuse CC here). Current users of Adobe’s Creative Cloud services can download Fuse CC from within the CC desktop app.

If you encounter a problem with the download such as a progress bar stuck at 0%, read Troubleshooting Adobe CC Downloads.
Fuse CC basics
Fuse CC combines a well thought-out set of features with an almost Apple-style ease of use for a reasonable, though not overwhelming, amount of flexibility and near-instant results.
Here is an overview of the workflow to get you started.
Step 1. Assemble your model’s 3D body
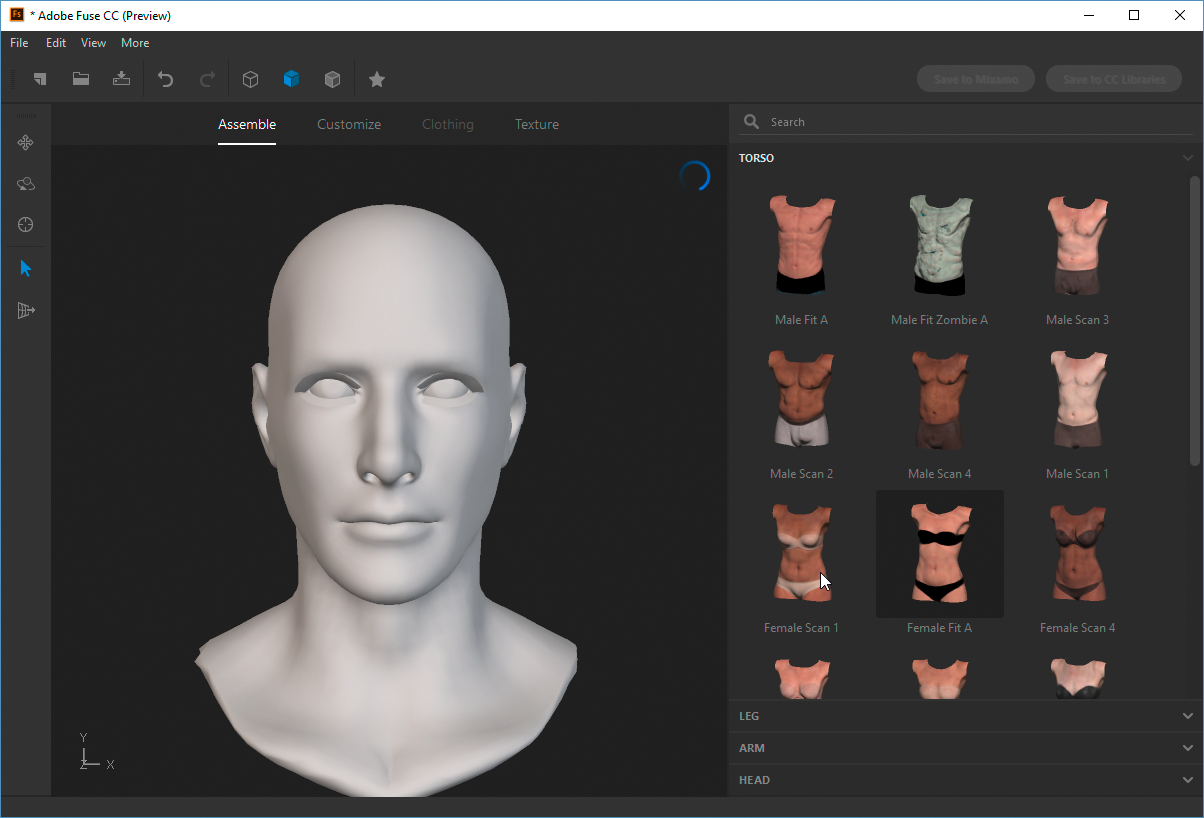
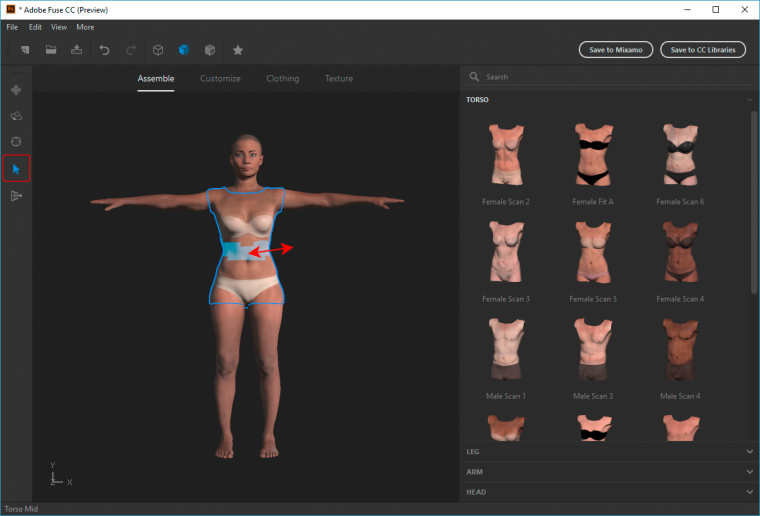
After creating a Fuse project, make sure you are in the Assemble room. On the right-hand side of the document window, you will find a collection of body parts such as heads, torsos, arms and legs (both male and female, racially diverse). They fit nicely.
(It almost goes without saying that you should save your work on the local computer, and save it frequently.)
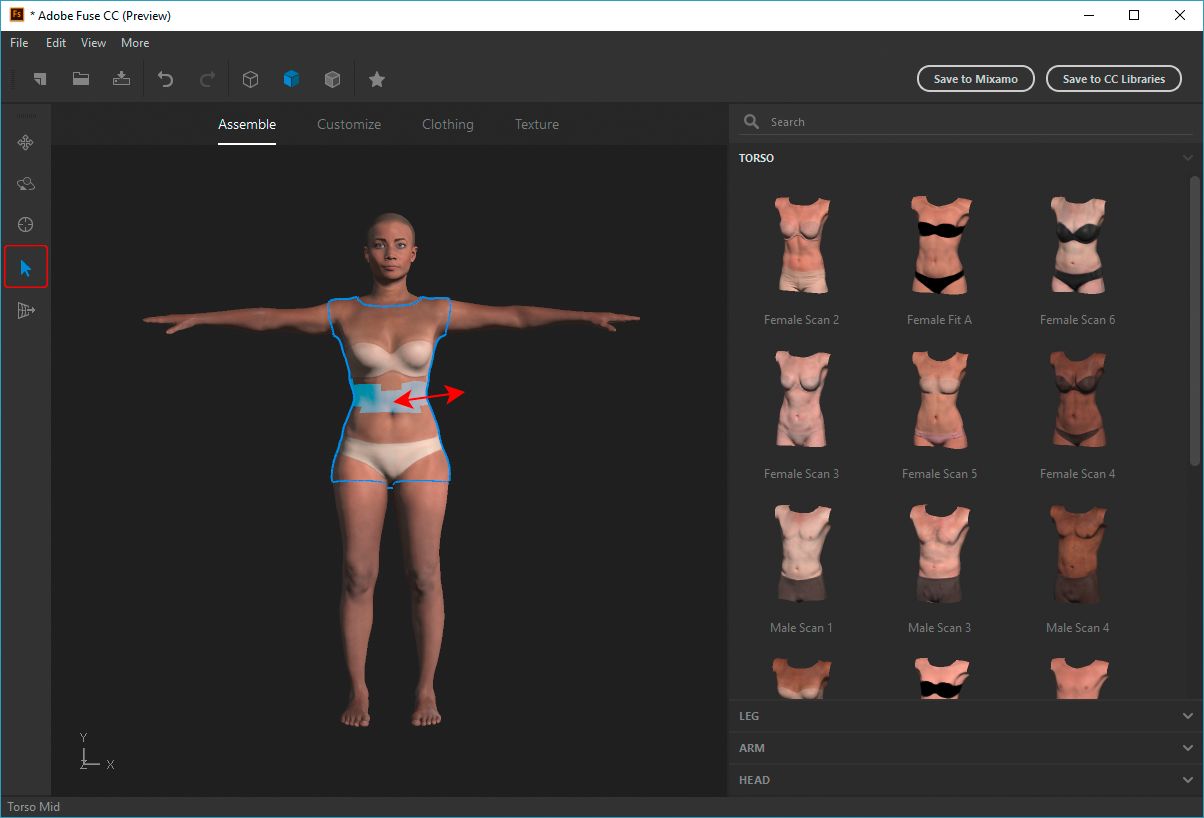
Use the Select tool to highlight an area of your model’s body, then frag it to modify its shape until you are satisfied with the result. For more fine-tuned controls, switch to the Customize area.
Step 2. Body tune-up: Customize and Texture
The Customize tab grants you access to a variety of parameters by means of knobs and sliders. Tweak your model’s features to your heart’s content. You can modify the facial characteristics of your character to fit whatever image you have in mind, and make its body appear thinner or heavier.
If you would like to add some individuality to your character, head over to the Texture area and feel free to experiment with different eye, teeth or tongue color, apply makeup or change the appearance of body hair.
Step 3. Clothing: dress for success
Once all body parts are in place, Fuse grants you access to the Clothing section of the interface. Select from tops, bottoms, shoes, etc.. Your model can also „grow“ a mustache and/or a beard.
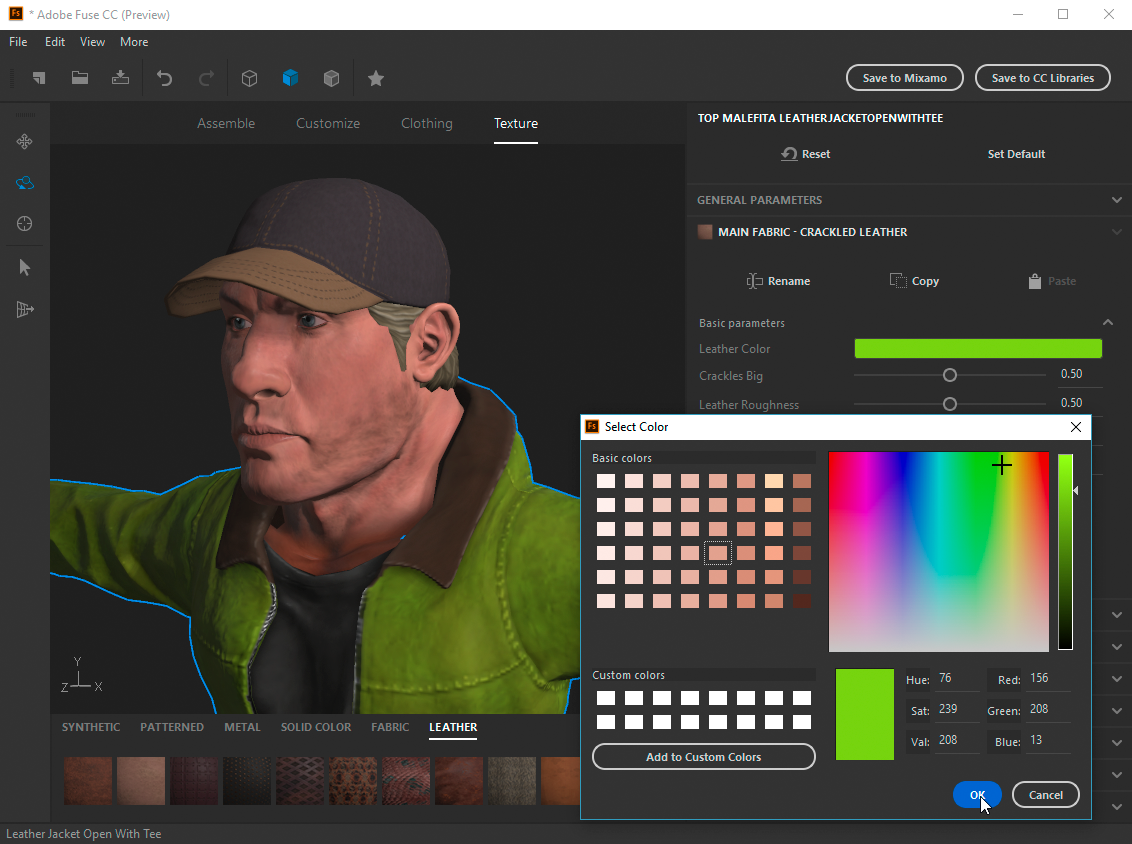
In Fuse CC, you can pan, zoom, and rotate your 3D model, but you cannot animate it (e.g., you cannot edit the pose). You will need Photoshop for that.
Step 4. Send to CC Libraries and access in Photoshop
With a click on the button „Save to CC libraries“, Fuse CC will upload your 3D model to your Creative Cloud account, then sync it with Photoshop’s version of the library (it may take a few minutes, but don’t worry, you will be notified).
Step 5. Edit the 3D model in Photoshop and create your animation
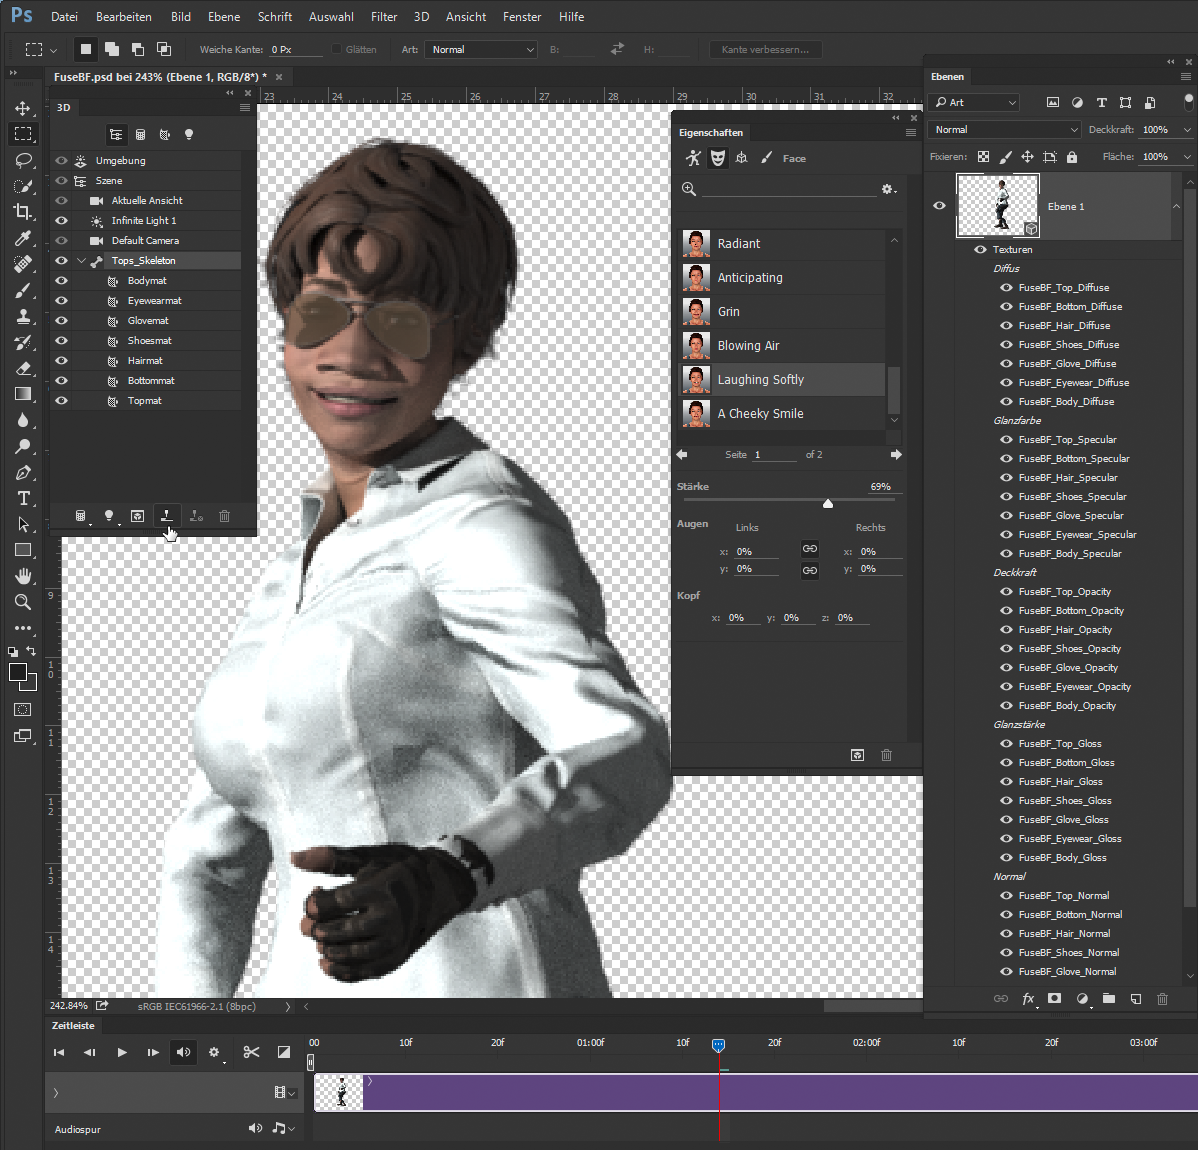
This step alone could fill a couple of books. Suffice it to say that you can animate your 3D character in Photoshop CC with the help of various presets that convey gestures and/or facial expressions onto the Fuse model.
In addition, you can combine multiple models withing the realm of a single scene, and design their interactions on the timeline in Photoshop.
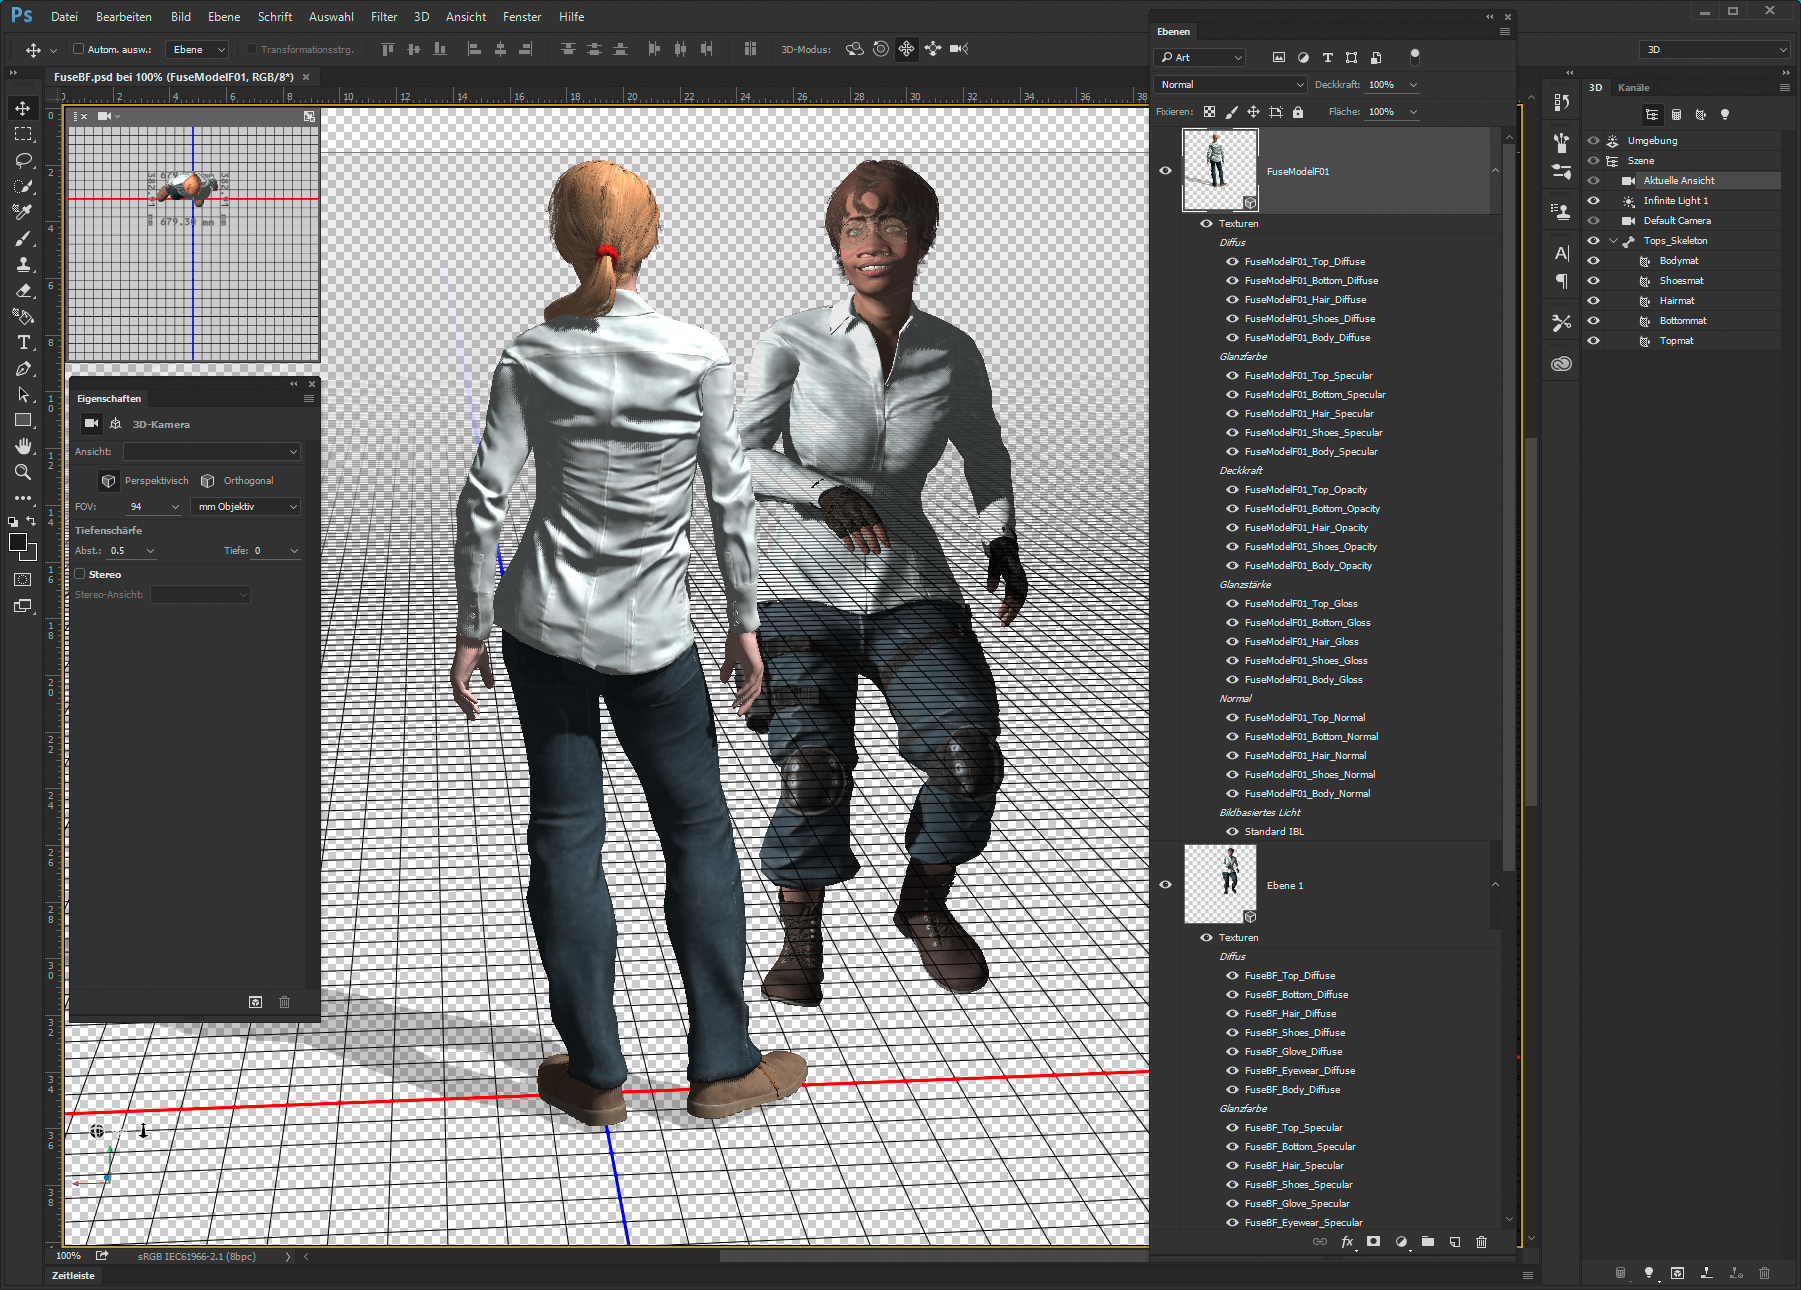
The biggest drawback of Fuse CC is the lack of a 64 bit build. Other than that, the workflow is fun!
[…] manages software installs, fonts and other assets. On occasion, such as with the recent release of Adobe Fuse CC (Preview), it tends to act up a little. With Fuse CC (Preview), users are reporting that the […]