Shooting with flash can be both exhilarating and frustrating. Here is how to make the most of a challenging photo shoot by mastering the use of a flashlight.
Shooting with flash: an introduction
The term flash refers to any light source which activates around the time of the exposure (as opposed to ambient light, which is present regardless of shutter release).

Rule No.1: You want the light from your flash to appear on your subject soft, neutral and diffused. You want to prevent flash from casting harsh, distracting shadows and/or overexposing shiny surfaces.
A few simple techniques can go a long way towards making the most of a difficult situation.
Strive for natural softness
In order to get a soft directional light from a speed-light, make sure the flash will not hit your subject directly but bounce off something else such as a wall or the ceiling (or an umbrella).

How to properly bounce flash
To that end, aim your speed-light in a different direction than you point the camera in. This technique requires a flashgun with a head that can both rotate and swivel, or studio flash.
When you bounce your flash, make sure that no direct light spills onto your subject. To that end, you can attach a small piece of opaque material to one side of the flashlight (much the same way people attach blinkers to a race horse) to prevent the light from hitting your subject directly.
You can also try to bounce the flashlight off the wall or another large object behind you. The more powerful your speed-light, the better the result.
Detach the flashgun
You can remove the flashgun entirely and use it away from the camera provided you have a means of triggering a flash in sync with the camera. This capability varies greatly depending on your equipment.
For remote triggering, there are plenty of options. Wireless (“radio”) triggers are most convenient but can be very unreliable. Some of them are subject to radio interference and dead battery issues. They also do not support advanced features even if the flashlight does. Alternatives include a sync cord with an adapter and an optical slave trigger (in studio photography).
The ability to use flash with higher shutter speeds (1/200s and above) requires high-speed sync.
Less expensive third-party flashlights offer many of the features of the big brands at a lower price, but they cannot guarantee future compatibility.
When to turn off the flash
Turn off on-camera flash when shooting during snowfall.
Flash, particularly when positioned too close to the camera, will cause snowflakes to appear magnified and manifest as huge out-of focus blobs.
Using TTL (Through-the-lens metering)
Some flashlights support a feature which automatically sets the power output of the flash via through-the-lens metering (TTL). The camera triggers a pre-flash of a defined brightness, meters the result, and uses this information to calibrate the power output of the main flash. This method is less consistent and less precise than full Manual mode but it is also a lot faster and less prone to errors.
However, if you frame your subject off-center and use the flash TTL metering system, your camera may compute incorrect settings based on the brightness of the background instead of the subject’. As a result, the flash will fire more light than necessary and overexpose your subject as a result. In this situation, you can use a feature called Flash Value Lock (FV Lock) to obtain and save the desired flash setting.
First, point your camera straight at the subject to enforce metering based on this image composition, activate FV Lock, and fire the pre-flashes. Then, recompose the shot the way you originally intended (for example, using the rule of thirds), and release the shutter. This way the flash will illuminate your subject instead of flooding the darker background with high-powered light. The Flash Value Lock remembers the power setting until the light meter times out. You can use your camera menu to extend the light meter timeout when you wish to continue shooting without the pre-flash at the current setting, but it may drain your batteries faster than usual.
Choosing the right type of flash equipment
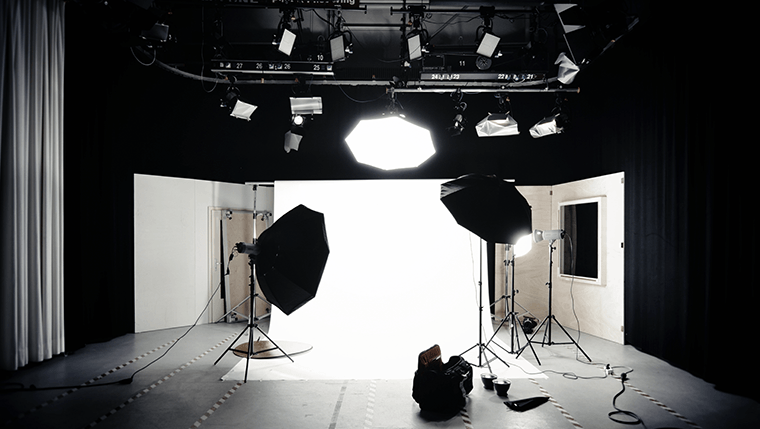
There are quite a few types of flash equipment such as studio flash heads and on-camera flashguns. Studio flash heads are mounted on stands. Flashguns, on the other hand, sit on a camera hot-shoe. Flashguns are sometimes also called speed-lights.
The amount of light your speed-light can produce is measured in a unit called Guide Number (GN). The guide number equals the subject distance multiplied by the f-stop:
GN = subject distance * f-stop
The higher the GN number, the brighter the light and the further the distance it can penetrate.
Some of the most challenging situations tend to offer no chance for a reshoot. Event photography is one such example. If you anticipate a particularly difficult shoot such as your daughter’s wedding in a dark Irish castle, consider renting additional lightning equipment. In the long-term, renting is more expensive than owning but offers far more flexibility.
Regardless of your setup, the rules that govern shooting with flash remain unchanged. Physics dictates how to handle flashlight and if you heed the advice in this tutorial, you can vastly improve the results.
With so many types of equipment to choose from, shopping for a professional speed-light is anything but easy.
The bottom line
The best thing you can do is get the biggest flash you can afford and then bounce it off something other than your subject.
Related: Master the secrets of RAW photography
Related: Master the secrets of professional color management
Leave a Reply